Washing and Cleaning Your Paint Brushes and Rollers
Congratulations on completing your painting project with Dupont Paints! Now that your walls are adorned with stunning colors, it's time to give some love and care to your trusty paint brushes and rollers. Proper cleaning and maintenance of your painting tools not only extend their lifespan but also ensure that your next painting endeavor starts with clean and efficient tools. In this guide tailored for the Kenyan market, we'll walk you through the steps to effectively wash and clean your paint brushes and rollers after using Dupont Paints.
Why Proper Cleaning Matters
Before we dive into the cleaning process, let's understand why it's essential to clean your paint brushes and rollers correctly:
-
Tool Longevity: Cleaning your tools prevents paint buildup, which can lead to bristle or roller matting, ultimately reducing their lifespan.
-
Cost Savings: Regularly cleaned and well-maintained brushes and rollers eliminate the need for constant replacements, saving you money.
-
Better Results: Clean tools provide smoother, streak-free paint application, ensuring a professional finish on your projects.
Materials You'll Need
Gather the following materials before you begin:
-
Used Paint Brushes and Rollers: Brushes and rollers used for your Dupont Paints project.
-
Bucket or Container: Large enough to hold your brushes and rollers.
-
Liquid Dish Soap: A mild dish soap works wonders for cleaning paint tools.
-
Warm Water: Preferably in a bucket or sink.
-
Paint Brush Comb or Brush Spinner: For removing paint residue from brushes.
-
Clean Rags or Paper Towels: To dry the tools after cleaning.
Step-by-Step Cleaning Guide
Now, let's get down to the nitty-gritty of cleaning your paint brushes and rollers:
Step 1: Scrape Off Excess Paint
Before you begin washing, remove as much excess paint as possible. You can do this by gently scraping the brush or roller against the edge of the paint can or using a paintbrush comb or spinner.

Step 2: Rinse with Water
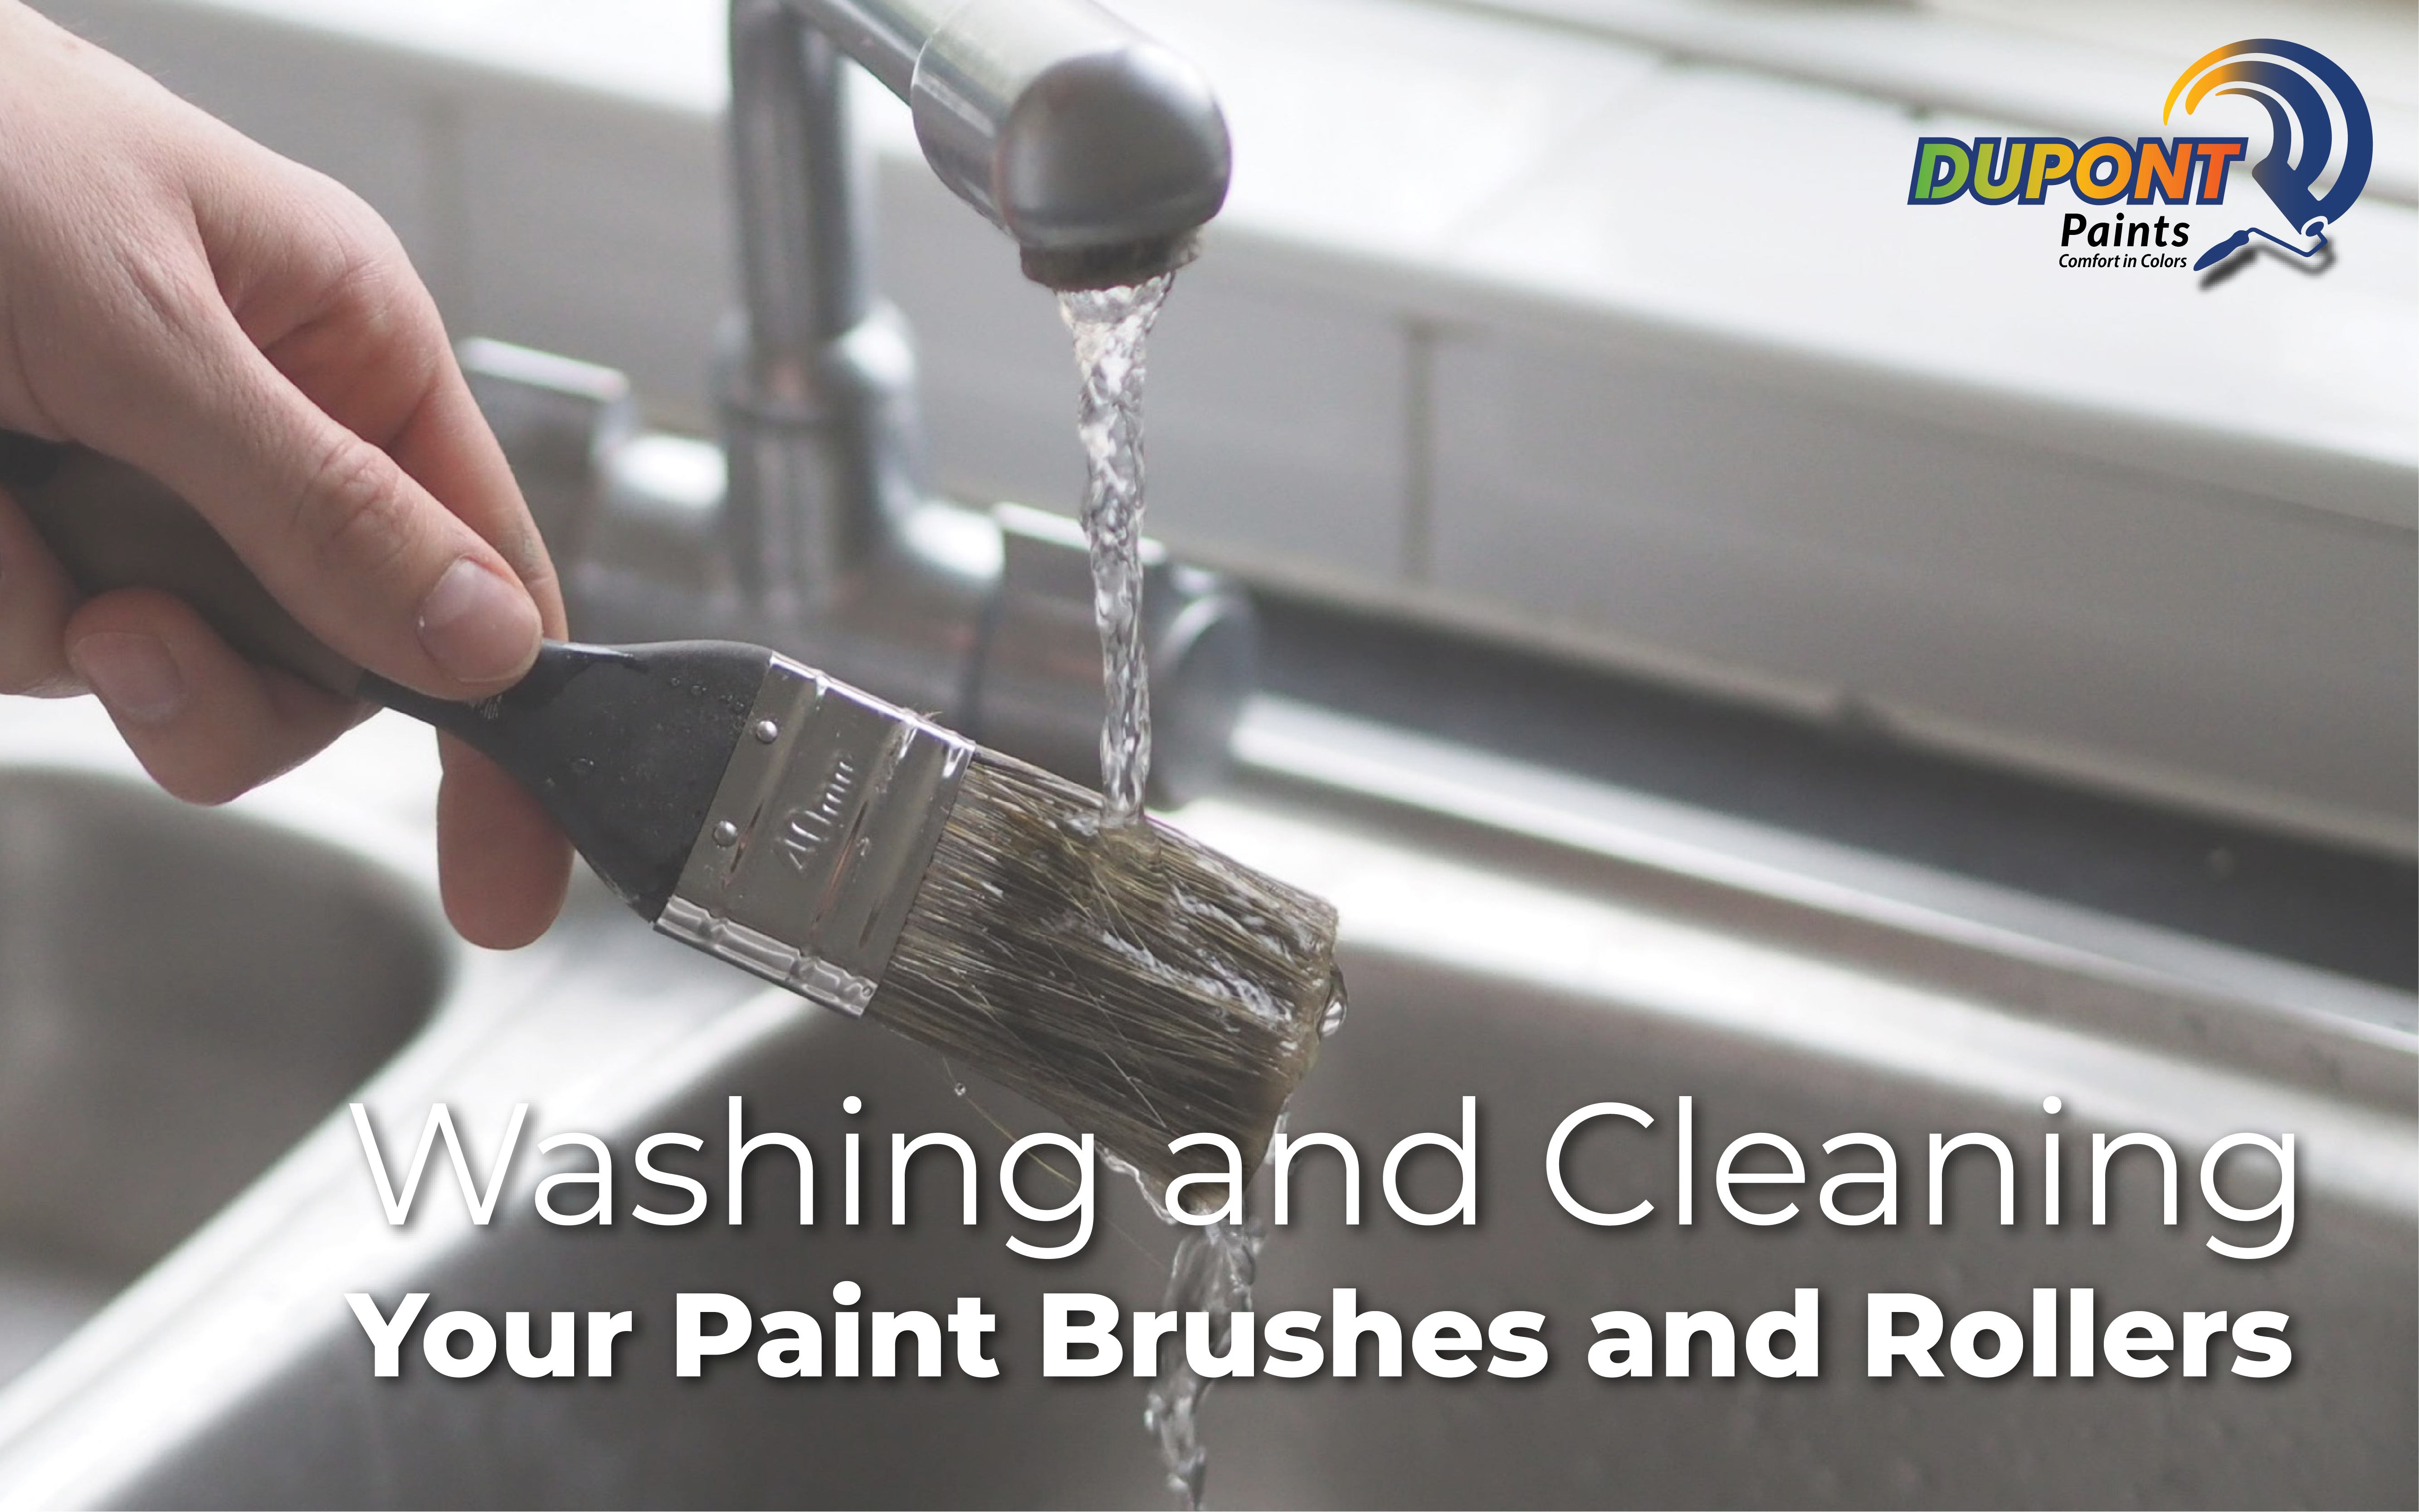
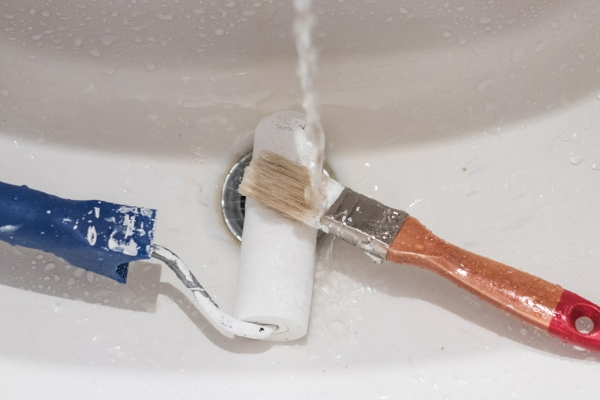
Rinse the brushes and rollers under running warm water. Allow the water to flow through the bristles or nap of the roller until the water runs clear. This may take a few minutes, depending on the amount of paint left in the tools.
Step 3: Create a Soapy Solution
Fill a bucket or container with warm water and add a few drops of liquid dish soap. Swirl the water to create a soapy solution.
Step 4: Soak and Agitate
Place the cleaned brushes and rollers in the soapy solution and gently agitate them. This will help loosen any remaining paint and clean the tools thoroughly. Let them soak for about 10-15 minutes.
Step 5: Scrub and Rinse
After soaking, use your fingers or a brush cleaning tool to scrub the bristles or nap of the rollers. Pay attention to the base where paint tends to accumulate. Rinse the tools under warm running water again until the water runs clear, indicating all the paint has been removed.
Step 6: Dry Thoroughly
Shake off excess water and blot the brushes and rollers with clean rags or paper towels to remove as much moisture as possible. Shape the bristles or nap while they are still wet to ensure they retain their original form.

Step 7: Store Properly
Once your brushes and rollers are clean and dry, store them properly. Hang brushes by their handles or lay them flat. For rollers, you can use a roller cage or hang them with their nap facing downward.
What About Paint Rollers—Should You Clean Them or Throw Them Away?
Paint rollers can be a bit trickier to clean compared to brushes, especially if you've used them for a large painting project. However, throwing them away after a single use isn't the most environmentally friendly or cost-effective option. Here's what you can do:
-
Immediate Cleaning: If you plan to reuse the roller within a few hours or days for the same color or a similar shade, you can opt for immediate cleaning. Follow the steps mentioned earlier for rinsing and soaking the roller in soapy water. This method is suitable when you have a quick touch-up job to do.
-
Extended Cleaning: For rollers used in more extensive projects or when you want to switch to a completely different color, extended cleaning is the way to go. Here's how to do it:
a. Remove Excess Paint: Scrape off as much paint as possible from the roller using a roller spinner or by pressing it against the inside of the paint tray.
b. Seal in Plastic: Place the roller in a sealed plastic bag or wrap it tightly in plastic wrap. This prevents the roller from drying out between coats or during breaks in your painting project.
c. Rejuvenation: If you're not planning to use the roller for several days or even weeks, consider using a roller rejuvenator or roller saver. These are special tools designed to keep your roller moist and ready for future use.
d. Cleaning: When you're ready to clean the roller, follow the steps mentioned earlier in the blog post for soaking and scrubbing. Keep in mind that it may take a bit more effort to remove dried paint from a roller, so be patient.
-
Knowing When to Dispose: There comes a point when a roller is beyond salvageable. If it's matted, misshapen, or damaged in any way, it's best to dispose of it responsibly. However, you can still salvage the roller frame and replace only the roller cover.
In conclusion, while cleaning paint rollers can be more challenging than cleaning brushes, it's a cost-effective and environmentally friendly practice that allows you to get more use out of your painting tools. By following the cleaning and storage tips mentioned above, you can keep your rollers in good condition and ready for your next painting project, whether it's with Dupont Paints or any other quality paint brand.
